Making Blue Prints with Kids – things to do during lockdown
If you like doing arts and crafts with your children you have probably had enough of watercolours and crayolas by now. I want to suggest a very different technique here to do with your little artists. We are blessed with a sunny spring, so why not make the most out of it? And best of all? Making Blue Prints with your kids is completely mess-free.
What you need…
All you need is Cyanotype paper, which can be bought ready made. I coat my own paper so I have never bought the pre-coated ones. But some choices to buy would be from Silverprint, Amazon, Fred Aldous or Manufactum. There are a lot of shops that sell these as ‘sun print papers’, ‘cyanotype papers’ or ‘sunography papers’. Apart from the paper you only need water and a plastic tray or bucket, large enough to fit your paper. If you are really serious about it, you could use a the glass pane of an old picture frame. Obviously you have to be careful with the glass if little children are involved.
I had fun making a little instructional video with my son to give you an idea what it is all about.
What to do…
1. Prepare your paper
First, it is important that you don’t open your special paper when out in the sun. The chemicals ,that the paper is coated with, react with UV-rays, so sun light. It’s best to work with your paper indoor, with curtains drawn, in dim light, ideally use a lamp that’s not too close to your future artwork.
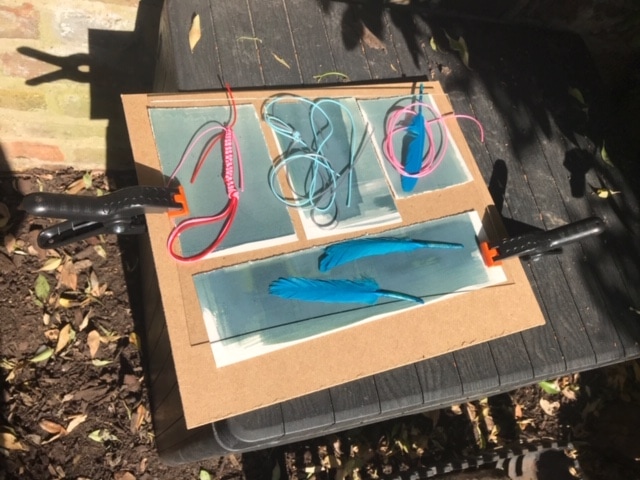
2. Lay out your shapes
It is safe to touch the paper, but hand it with care so not to damage it. Your children can arrange anything on the paper. Best are items that have an interesting outline or are partly see-through. You could even let them draw on an acetate or see-through plastic sheet. Also, that the paper is light green at this stage is completely normal!
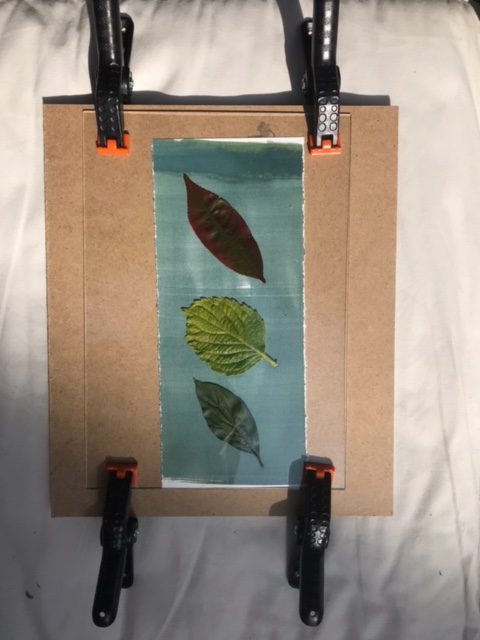
Generally, the flatter the item lies on the paper, the clearer the resulting image will be. So if you put leaves, flowers etc on your paper, you could press and weigh it down with a sheet of glass (careful there!) to really create some contact with your paper.
Everything that covers the paper will be white (or whatever the colour of the actual paper is), everything that is not covered will turn blue.
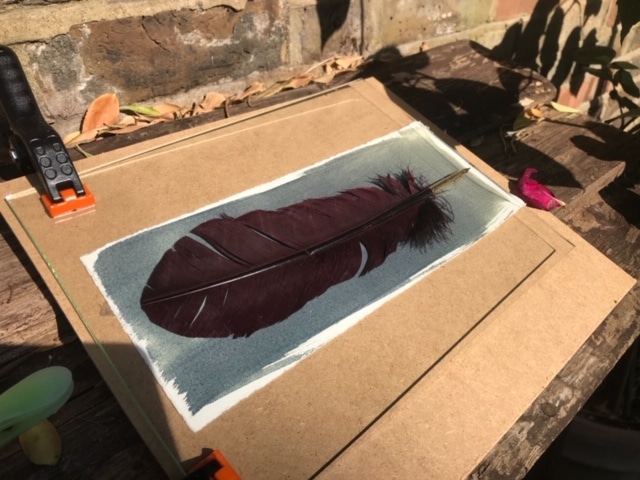
3. Out in the sun
Next the future artwork needs to be exposed to the sun. You don’t need a big garden for this. A small balcony or a window sill are enough.You could even use a patch of direct sun if the sun shines straight through one of your open windows. Obviously, please be careful with open windows and balconies when little children are involved. You will need to wait a few minutes. During this time you can see the colour change from light green to dark green and often a dark blueish brown. Then your image is ready. The packaging on your paper might give you specific instructions.
Children need to be a little patient at this point. If the items on the paper move, even just a little bit, the result will be an unclear image.
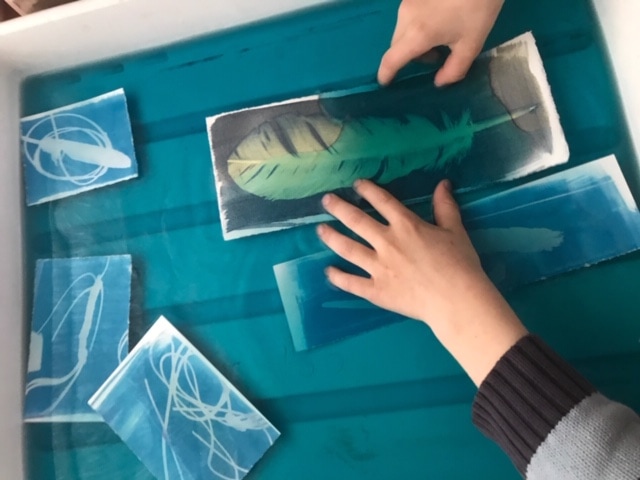
4. Wash them
As long as your paper is dry it will continue to react with the sun. So once you (or your child) are happy with it, you should quickly take it out of the sun and submerge it in water. Ideally, you use a plastic tray or bucket for this. Give the paper a good wash by gently pulling it through the water or making little waves. You might have to change the water a few times, depending on the size of your tray.
Again, your image will change colour. A lot of the blue and green will wash off.
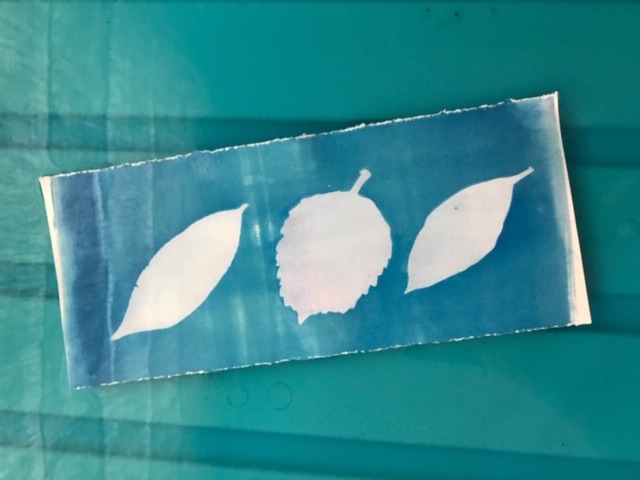
5. Dry them
Once the water stays completely clear, your images are ready to come out of the wash. You can hang them out to dry or lay them flat. They won’t be dark blue yet but rather turquoise. They will reach their final colour after about 24h.
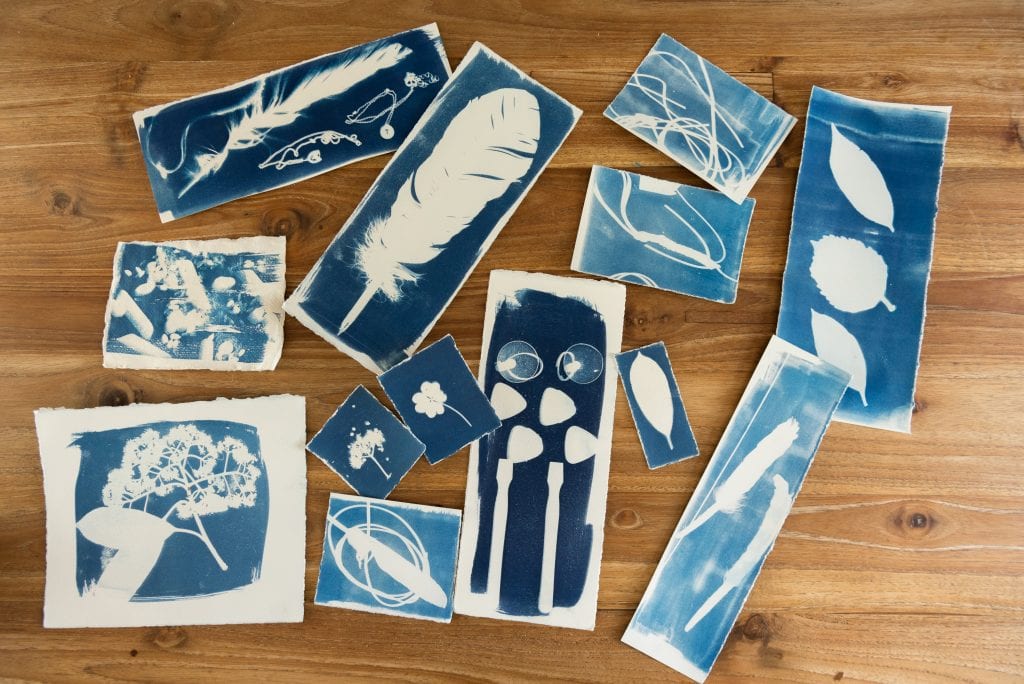
Our loot 
on cotton 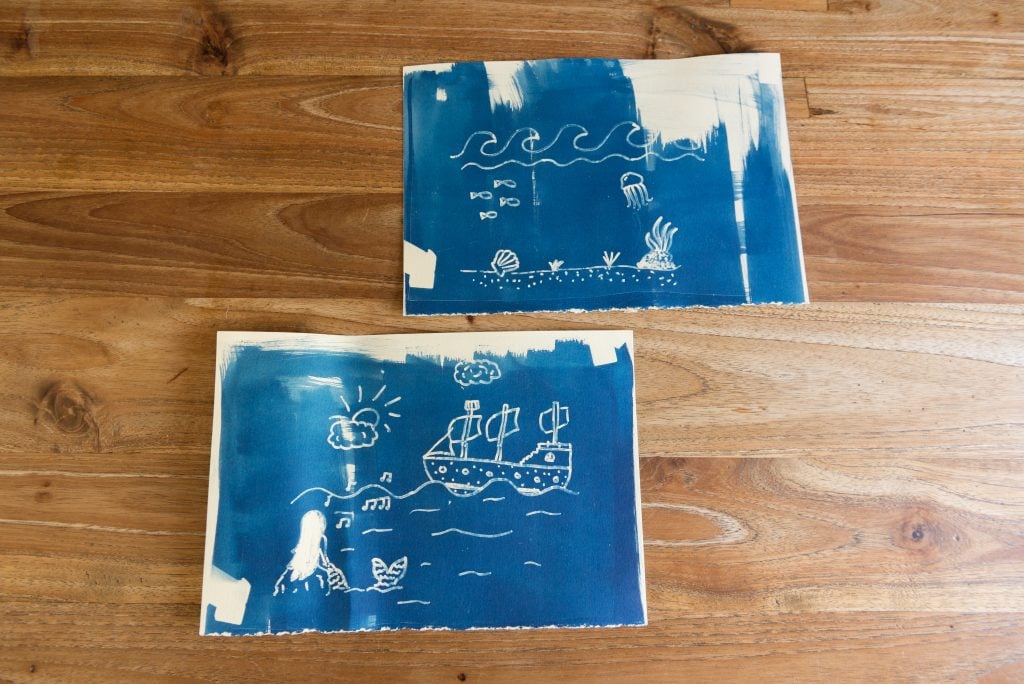
drawing on transparencies
So why not give it a go? You might end up with interesting little snippets that you could stick on a card and send it off to the grandparents. Some shops also sell pre-coated cotton that you could use use for a sewing project. The possibilities are endless – and so is our children’s creativity if we just let them use it.
Annika Bloch Photography offers award-winning family and child photography in Maida Vale, West London, specialising in studio photography. In addition, she offers dance photography, pet photography, head shot photography and commercial photography. Licentiateship with the MPA. Uniquely, she offers to craft your portrait as Blue Print.